Selling Native American jewelry online requires more than just a good product; it demands photography that captures its intricate craftsmanship, unique materials, and cultural authenticity. Unlike mass-produced items, each piece of Native American jewelry tells a story through its silversmithing, stone setting, and design. High-quality images are not merely aesthetic; they are foundational to building buyer trust, conveying value, and driving sales by allowing potential customers to examine details as if holding the piece in person. Poor photography, conversely, can obscure vital characteristics, raise doubts about authenticity, and deter purchases, regardless of the item's inherent quality.
Essential Equipment for Quality Jewelry Photos
Camera Choices: From Smartphone to DSLR
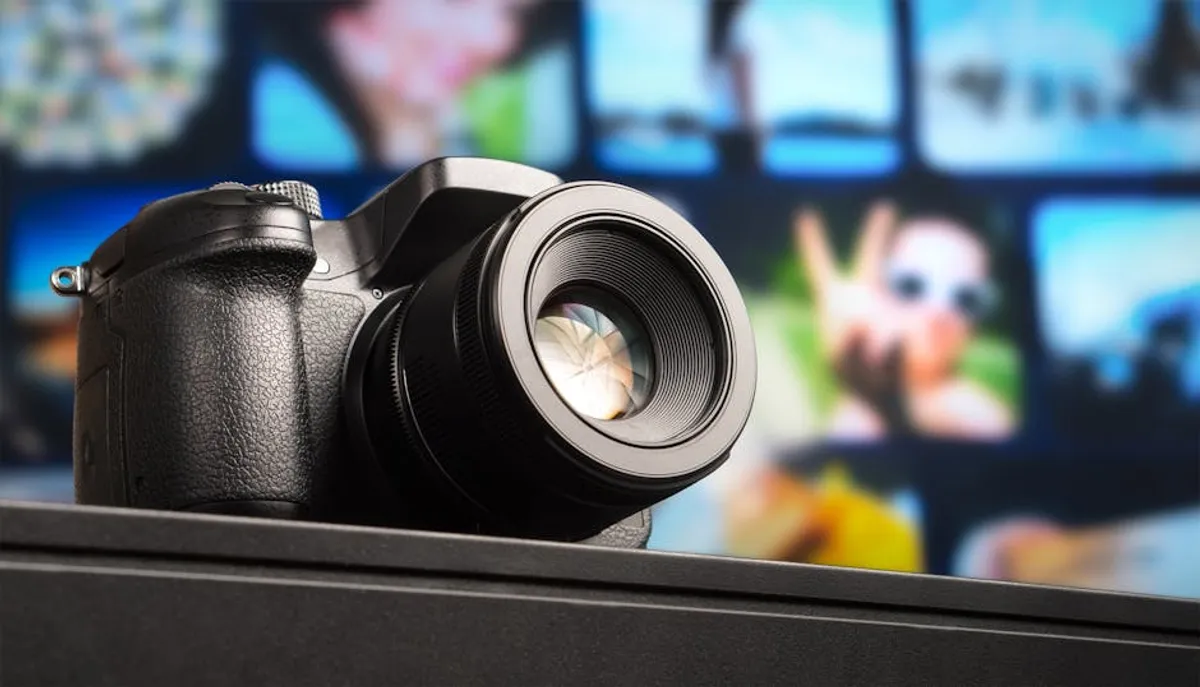
The right camera depends on your budget and desired level of control. Modern smartphones (e.g., iPhone 15 Pro, Samsung Galaxy S24 Ultra) offer advanced computational photography and decent macro capabilities, making them suitable for clear, well-lit shots, particularly for sellers starting out. Their portability and ease of use are significant advantages. For greater control over depth of field, manual settings, and higher resolution, a mirrorless camera or DSLR with a dedicated macro lens (e.g., 50mm or 100mm macro) provides superior results. These allow for precise focus on minute details, crucial for showcasing intricate silverwork or unique stone matrices. Regardless of choice, ensure your camera can produce sharp images with accurate color rendition.
Lighting Solutions: Natural vs. Artificial
Effective lighting is paramount for jewelry photography. Natural diffused light, such as that from a north-facing window on a cloudy day, provides soft, even illumination that minimizes harsh shadows and reflections. Position your setup near the window, but out of direct sunlight. For consistent results independent of weather or time of day, artificial lighting is necessary. A light box or light tent, typically equipped with LED lights, creates a controlled, shadow-free environment. Alternatively, two continuous LED lights with diffusers (softboxes) positioned at 45-degree angles to the jewelry can effectively eliminate shadows and reveal texture without glare. Avoid single-point flash, which often creates harsh highlights and deep shadows that obscure detail.
Backgrounds and Props: Minimizing Distraction
The background should enhance, not detract from, the jewelry. Solid, neutral colors like white, light gray, or black are ideal because they allow the piece to stand out without color interference. Matte surfaces are preferable to glossy ones, which can cause unwanted reflections. For a subtle textural element, consider a clean, untextured fabric like linen or felt. Avoid busy patterns or highly reflective materials. Minimalist props, such as a small, smooth stone or a piece of natural wood, can provide context for scale or material, but use them sparingly to keep the focus on the jewelry itself. The goal is to create a clean, professional presentation that highlights the item's unique characteristics.
Setting Up Your Photography Space
Controlling Light and Reflections
Controlling reflections, especially on polished silver or highly reflective stones, is critical. A light box or tent is designed to encapsulate the item, diffusing light from multiple angles and minimizing direct reflections of your camera or surroundings. If using open lighting, strategically place white or black foam core boards around the jewelry. White boards act as reflectors, bouncing light into shadowed areas to soften them. Black boards can be used as flags to block unwanted reflections or deepen shadows for increased contrast. Experiment with angles to find the sweet spot where reflections are managed without losing the gleam that signifies quality metalwork.
Stabilizing Your Shots: Tripods and Stands
Sharpness is non-negotiable for jewelry photography. Even minor camera shake can introduce blur, especially when capturing fine details or shooting in lower light. A sturdy tripod is essential for maintaining consistent framing and eliminating blur. For smaller items like rings or earrings, a tabletop tripod offers stability without taking up excessive space. Utilize your camera's self-timer or a remote shutter release to further minimize vibration from pressing the shutter button. This ensures every shot is critically sharp, allowing buyers to zoom in and examine the intricate details of a Navajo cuff or Zuni inlay work.
Mastering the Shot: Angles, Focus, and Detail
Capturing Scale and Wearability
Buyers need to understand the size of a piece. Include a scale reference, such as a ruler or a coin, in at least one photo. For wearable items like necklaces or bracelets, consider a lifestyle shot on a model or mannequin hand/bust. This helps buyers visualize how the jewelry will look when worn, demonstrating its drape, proportion, and impact. Ensure these shots are clean and the focus remains primarily on the jewelry, not the model. Multiple angles—front, back, side—are necessary to fully represent the item's three-dimensionality and construction.
Highlighting Craftsmanship and Materials
Native American jewelry often features specific techniques like tufa casting, stamp work, or intricate stone settings. Close-up shots are crucial for showcasing these details. Use macro mode or a macro lens to capture the texture of hand-stamped silver, the matrix within a turquoise stone, or the precision of a channel inlay. Show the artist's hallmark or signature, if present, as this adds to authenticity and value. For pieces with multiple stones, photograph them individually if their unique characteristics are important. The goal is to provide enough visual information for a discerning buyer to appreciate the artistry.
Achieving Accurate Color Representation
Color accuracy is vital, especially for natural stones like turquoise, coral, or lapis lazuli, which vary widely. Calibrate your monitor regularly. When shooting, use a gray card or color checker card in your initial shots under your chosen lighting conditions. This provides a neutral reference point for post-processing adjustments, ensuring that the colors in your final images are true to life. Inaccurate colors can lead to buyer dissatisfaction and returns, eroding trust.
Pro Tip: When photographing highly reflective surfaces like polished silver, use a "sweep" technique for your background. Place a large sheet of white paper or seamless backdrop material, curving it gently from horizontal to vertical. This eliminates a harsh horizon line, providing a clean, infinite background that helps manage reflections and keeps the viewer's eye focused solely on the jewelry.
Post-Processing for Professional Results
Basic Edits: Cropping, Exposure, and White Balance
Post-processing is an integral part of professional jewelry photography. Begin with cropping to remove distracting elements and frame the jewelry effectively. Adjust exposure to ensure the image is neither too dark nor overexposed, revealing all details. White balance correction is critical for accurate color; use the gray card reference shot to set a neutral white point. These basic adjustments can significantly elevate the quality of your images without altering the item's appearance.
Advanced Adjustments: Retouching and Sharpening
For more refined results, consider advanced adjustments. Careful retouching can remove minor dust specks or smudges that are invisible to the naked eye but become prominent in high-resolution photos. Use cloning or healing tools judiciously to preserve authenticity. Apply selective sharpening to enhance the crispness of details like stamp work or stone edges, but avoid over-sharpening, which can create an unnatural, pixelated look. The aim is to present the jewelry in its best light, not to misrepresent its condition.
- Cropping and Straightening: Frame the jewelry optimally, removing excess background.
- Exposure and Contrast: Adjust brightness and dynamic range for clarity.
- White Balance and Color Correction: Ensure true-to-life colors, especially for stones.
- Dust and Blemish Removal: Use spot healing to clean up minor imperfections.
- Sharpening: Enhance detail and crispness without overdoing it.
Practical Photography for Online Sales
Presenting your jewelry consistently across all listings reinforces professionalism and brand identity. Maintain uniform lighting, backgrounds, and editing styles for all your product images. This creates a cohesive visual experience for customers browsing your inventory. Ensure all images are appropriately sized for your chosen selling platforms, balancing file size for fast loading with sufficient resolution for zoom functionality. High-resolution images are crucial for allowing buyers to inspect the fine details that define Native American craftsmanship.
Frequently Asked Questions
What is the best way to photograph highly reflective silver jewelry?
Use a light box or tent to diffuse light from all sides, minimizing harsh reflections. Alternatively, surround the jewelry with white foam core boards to create a soft, enveloping light, and use a black "flag" to block any direct reflections of your camera or light source.
How many photos should I include for each piece of jewelry?
Aim for at least 5-7 high-quality images per item. This should include a full-front shot, a back shot, side views, a close-up of intricate details (e.g., hallmark, stone matrix, stamp work), and a shot demonstrating scale or wearability.
Should I use a flash when photographing jewelry?
Avoid using your camera's built-in flash or a direct, on-camera flash. These produce harsh light, create strong shadows, and can cause unflattering glare on reflective surfaces. Instead, opt for diffused natural light or continuous artificial lighting with softboxes.
How can I ensure accurate color representation of stones like turquoise?
Calibrate your monitor and use a gray card or color checker card in your initial shots. This provides a neutral reference point during post-processing to adjust white balance and color, ensuring the stone's true color is accurately displayed.